Showing posts with label Holidays. Show all posts

Monday, February 7, 2011

Manly Valentines

Today on KSL Studio 5 they showed the CUTEST manly valentines I've ever seen!  I HAD to pass the info along.  I can NOT wait to make some for my man!  He's going to LOVE this.  I'm inspired now to take a walk through our local hardware store looking for creative things to make. 

Thursday, February 3, 2011

Valentine Pom Poms

I was in the mood to do something crafty today. I also needed something cute to go in my milk glass vases. So I made these. What do you think? Cute huh? Want to make some for yourself? Here's how! You can make them in any color you wish.  You will need yarn and scissors.  


First wrap the yarn around your fingers about 50-60 times.
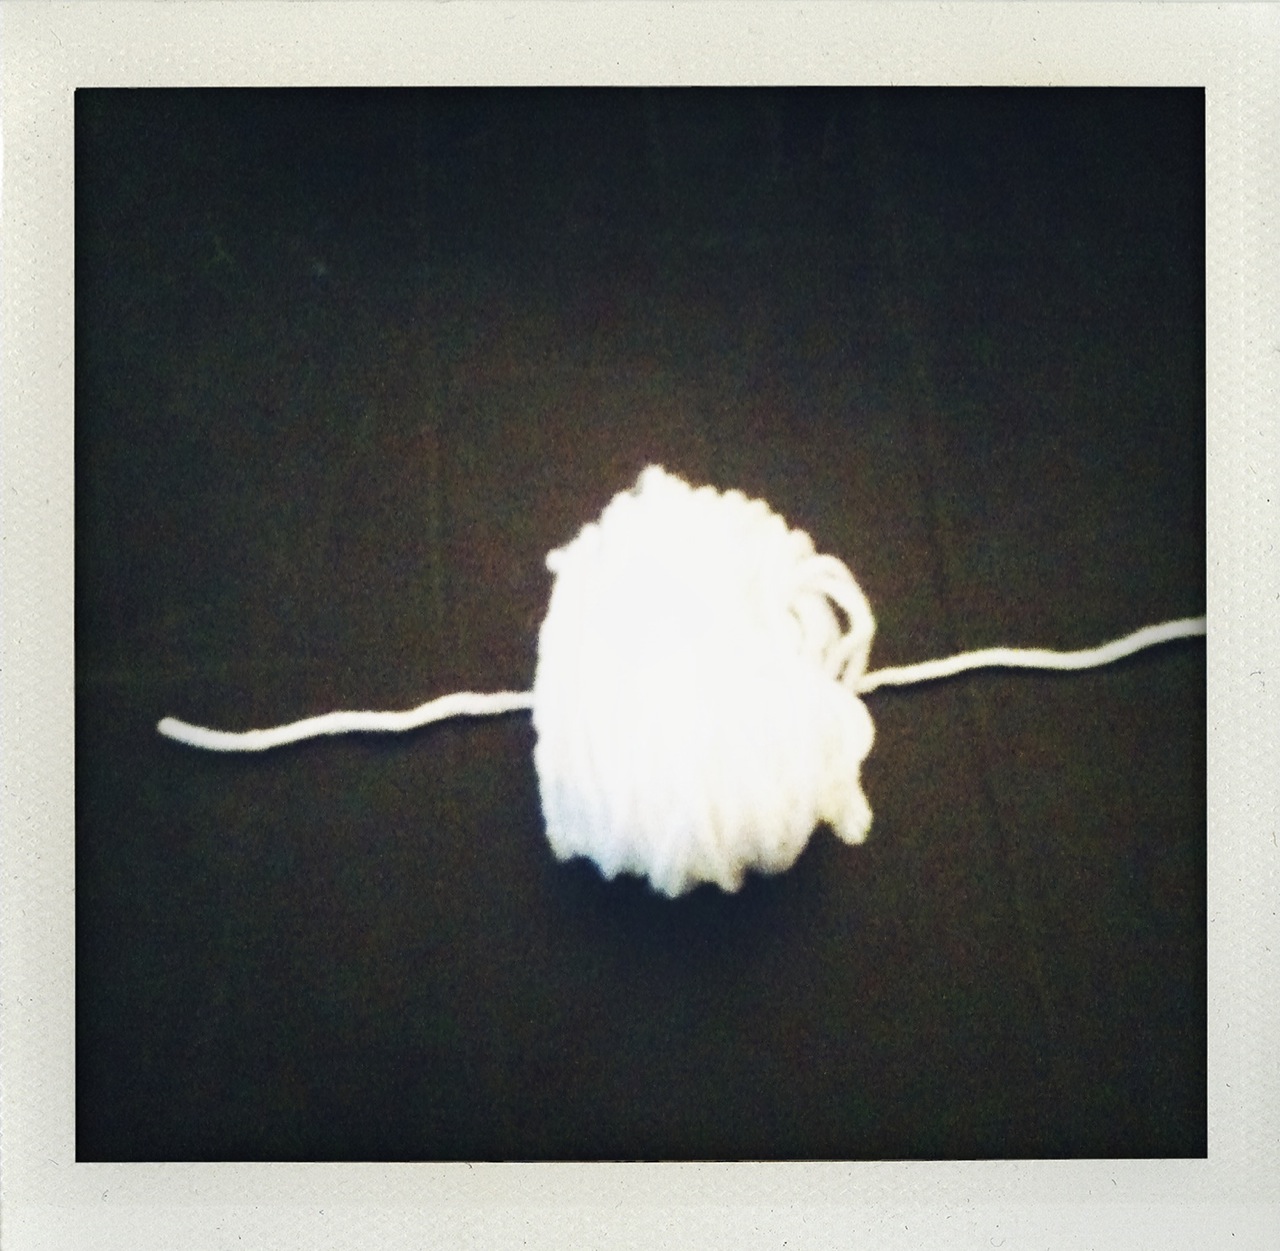
Cut a piece of yarn about 5 inches long.  Slip the yarn loop off of your fingers and place on the piece of yarn.  Make sure that your loop is centered.
Tie the piece around the big loop.  Make sure that it is TIGHT knot, otherwise the pieces will fall out after it's cut.
Cut the loops and trim so all the yarn is about the same height.
Fluff up!  Voila, you have your pom pom.  I hot glued a stick I found in my yard to make some pom pom flowers. 
Here they are!

Wednesday, February 2, 2011

Heart in a Cupcake

How cute is this?  I can not wait to make these sweet treats.  And I can't wait to experiment with other things you can bake into a cupcake.  The blog BAKE IT IN A CAKE is amazing!  I absolutely LOVE cupcakes and can't wait to get my bake on!

Wednesday, November 17, 2010

Thanksgiving Craft - Indian Corn

I was asked to be in charge of my 10 year old's fall craft at school. I had seen something similar on Family Fun. I knew I didn't have enough money to buy the supplies they suggested so I made up my own version. Here's how it turned out. And here's what you need to create your own.

Brown Craft Paper (8 1/2 x 11)
Tissue paper in a lot of different colors
Yellow card stock or yellow poster board
glue

Cut the paper lengthwise in thirds. Crumple the paper up over and over again to make it look weathered. Cut the tops to look like the corn husks.

Cut the yellow paper in a corn cob shape. And then cut all the tissue paper in 2x2 inch squares.

Here's where the fun comes in!  Take each tissue square and crumple it into a small ball.  I think it's easier if you make several balls ahead of time.
Glue them onto the corn cob (you can use white glue or a glue stick).  I had the kids glue all of their kernels on and then we wrapped them in the husks.  Look at the picture above to see the placement of the cob.  I made a slight X with my husks and glued them together.  Then I glued the cob on and finally, I wrapped the husk bottoms around the bottom of the cob.  Glue together.  You might have to hold the bottom together for a couple of minutes to let the glue set.  Have fun!

Tuesday, November 2, 2010

Thankful Tree

I have always wanted to make a "tree" like this. This is our thankful tree. I found some acorn and leaf die cuts at Joann's today on clearance. And this vase had been sitting in our garage for months. I paid a whopping $5 for it at our local thrift store. I knew it would come in handy one day (told you honey!).
I also bought some bags of leaves at the dollar store and put those on the bottom of the vase.  Then I went into our backyard and started gathering up sticks.  I brought them in and then arranged them. 
I punched a hole in the top of each die cut and tied some ribbon through the hole.  Everyday we will write down something (on the die cut) we are grateful for and then hand them on the tree. 

I can NOT wait to see this full of thankfulness!